Enable microphone access for Awra
If you skipped or denied microphone access when you first opened Awra, the voice recording feature will not work. This guide shows you how to turn it on — it takes about 30 seconds and you only need to do it once.
Enable microphone on iPhone
iOS controls app permissions in the main Settings app. Follow these steps:
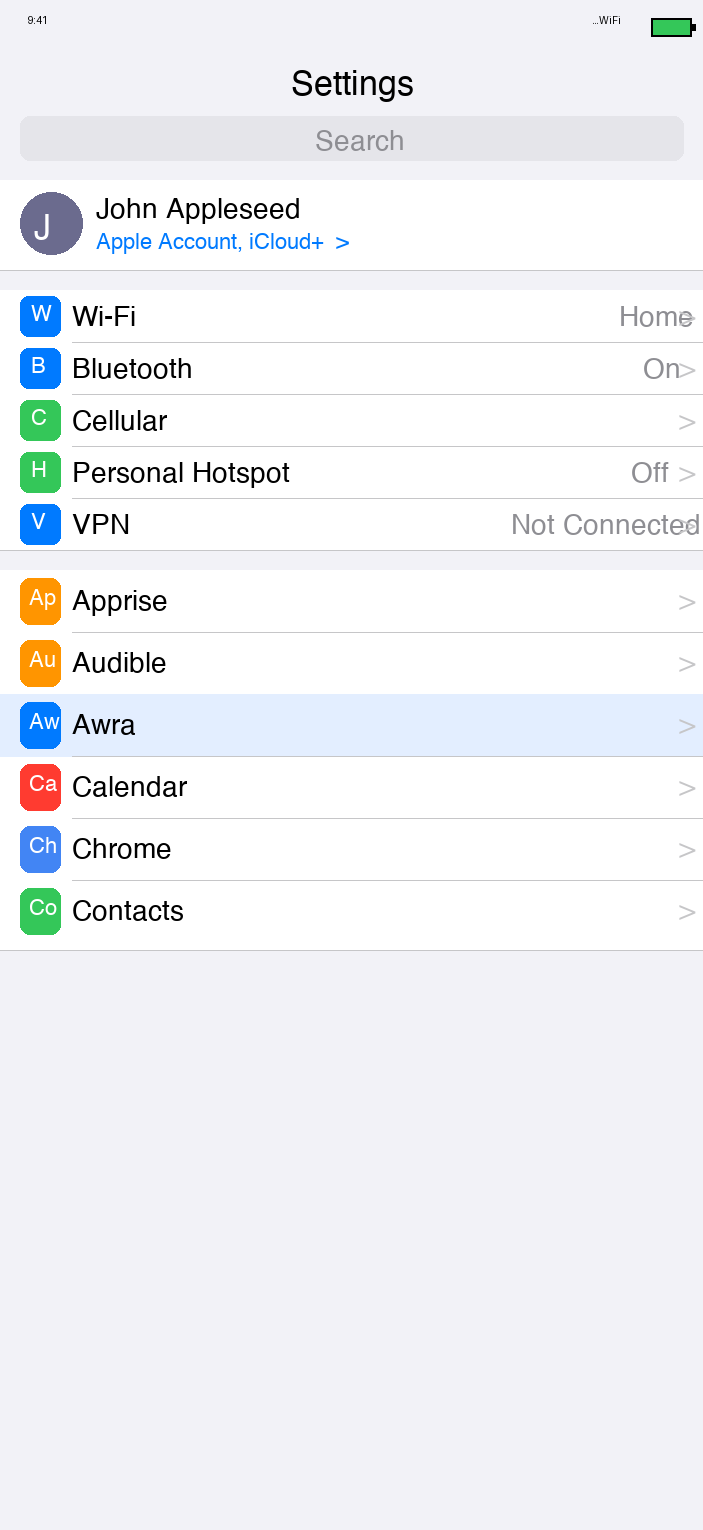
- 1 Open the Settings app on your iPhone (the grey icon with gears).
- 2 Scroll down and tap Awra. (You can also search for "Awra" using the search bar at the top of Settings.)
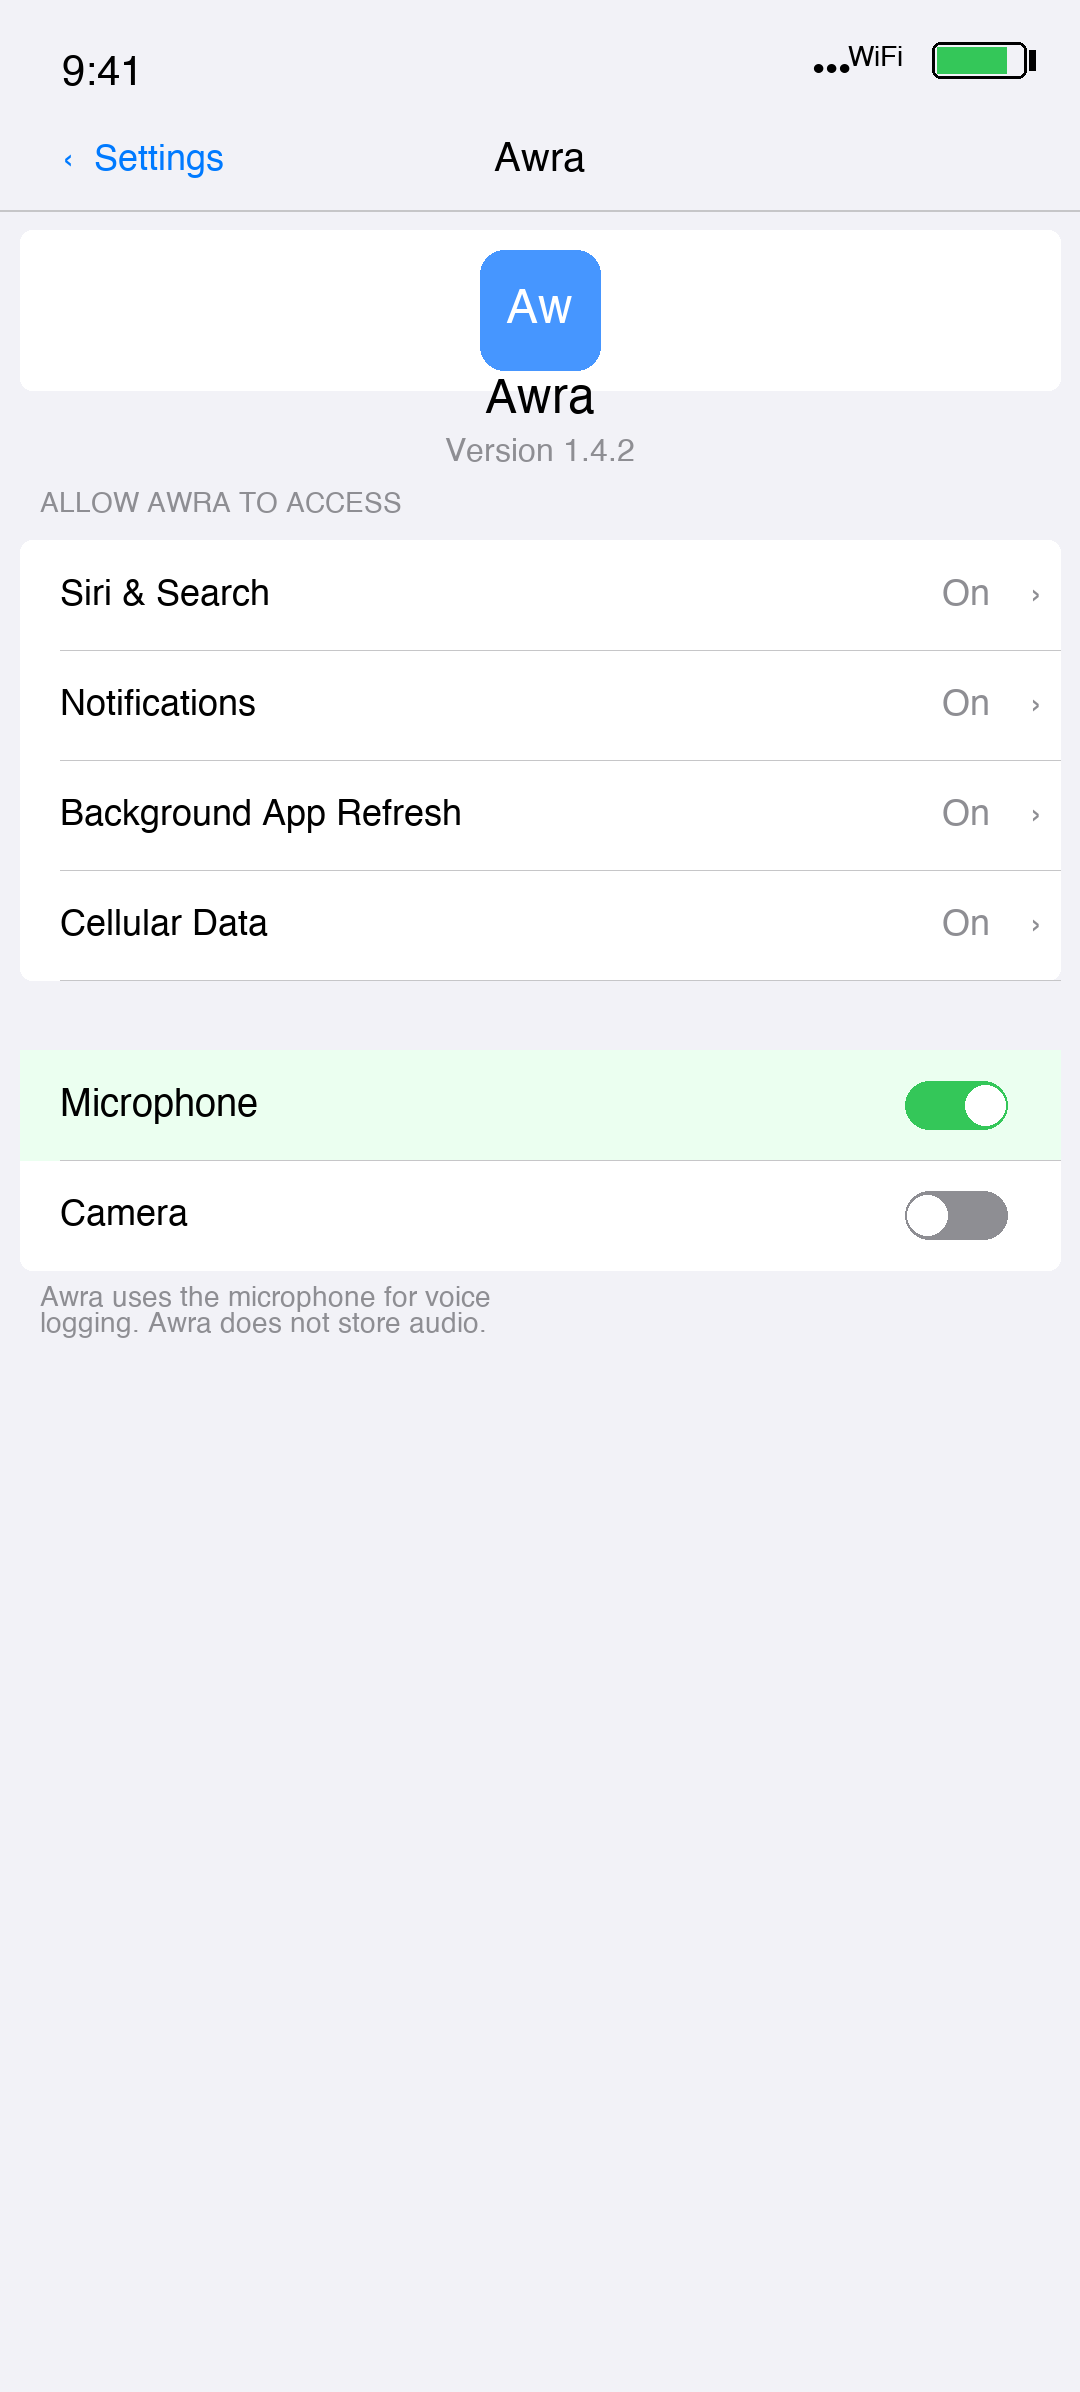
- 3 Tap Microphone.
- 4 Toggle the switch to the on position — it turns green.
- 5 Return to Awra. Voice recording is now active.
Cannot find Awra in Settings?
Make sure Awra is installed and has been opened at least once. If the Awra row does not appear, scroll past the default Apple apps — third-party apps are listed below them.
Enable microphone on Android
Android permission settings are inside the Apps section of your phone Settings. The exact steps vary slightly by manufacturer (Samsung, Google Pixel, etc.), but the path is the same.
- 1 Open the Settings app on your Android phone.
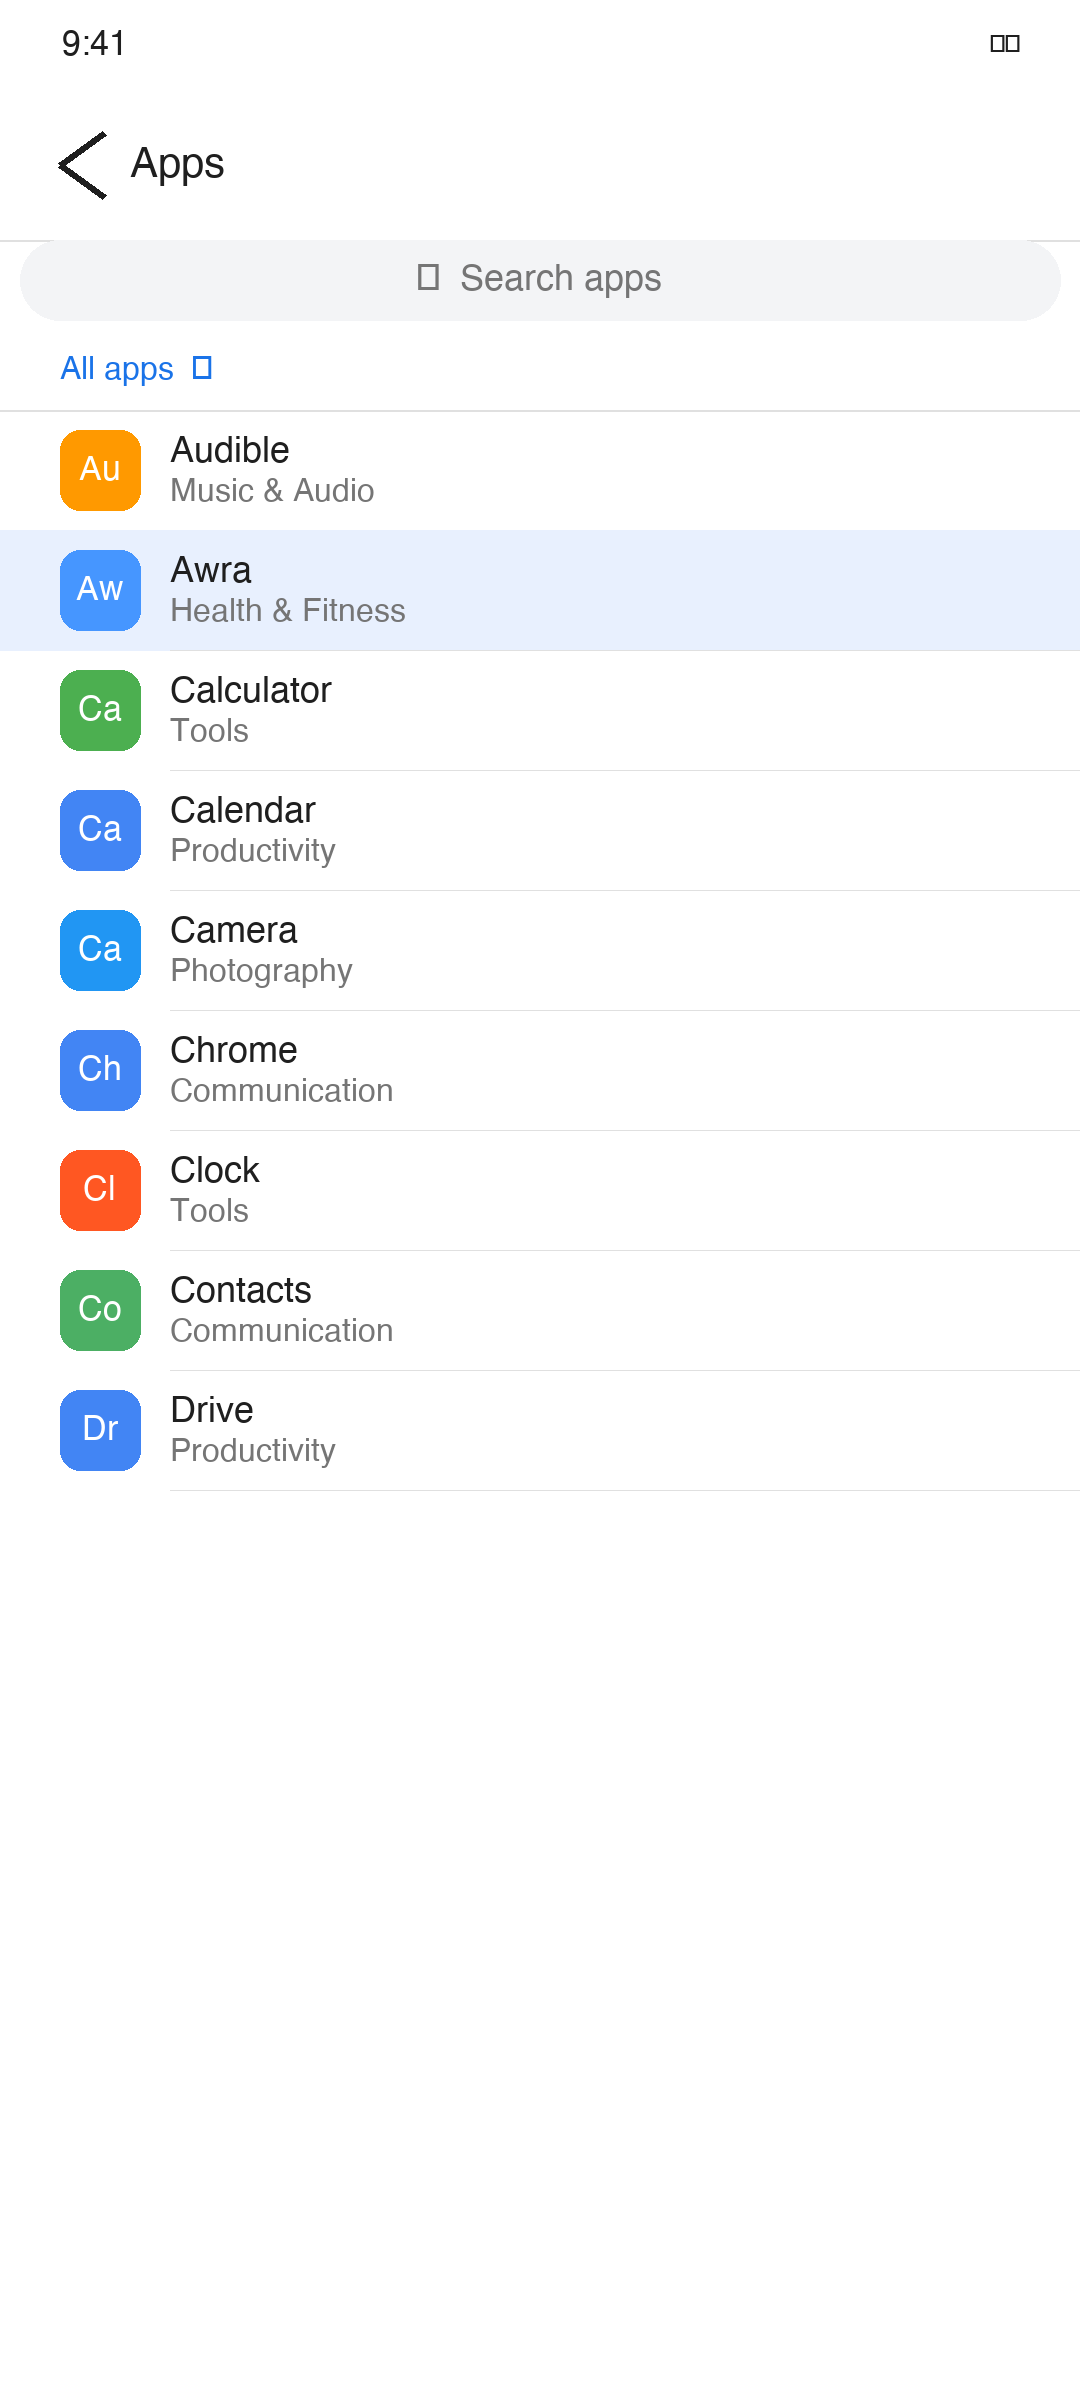
- 2 Tap Apps (some phones call this Application Manager or Installed apps).
- 3 Find and tap Awra in the list.
- 4 Tap Permissions.
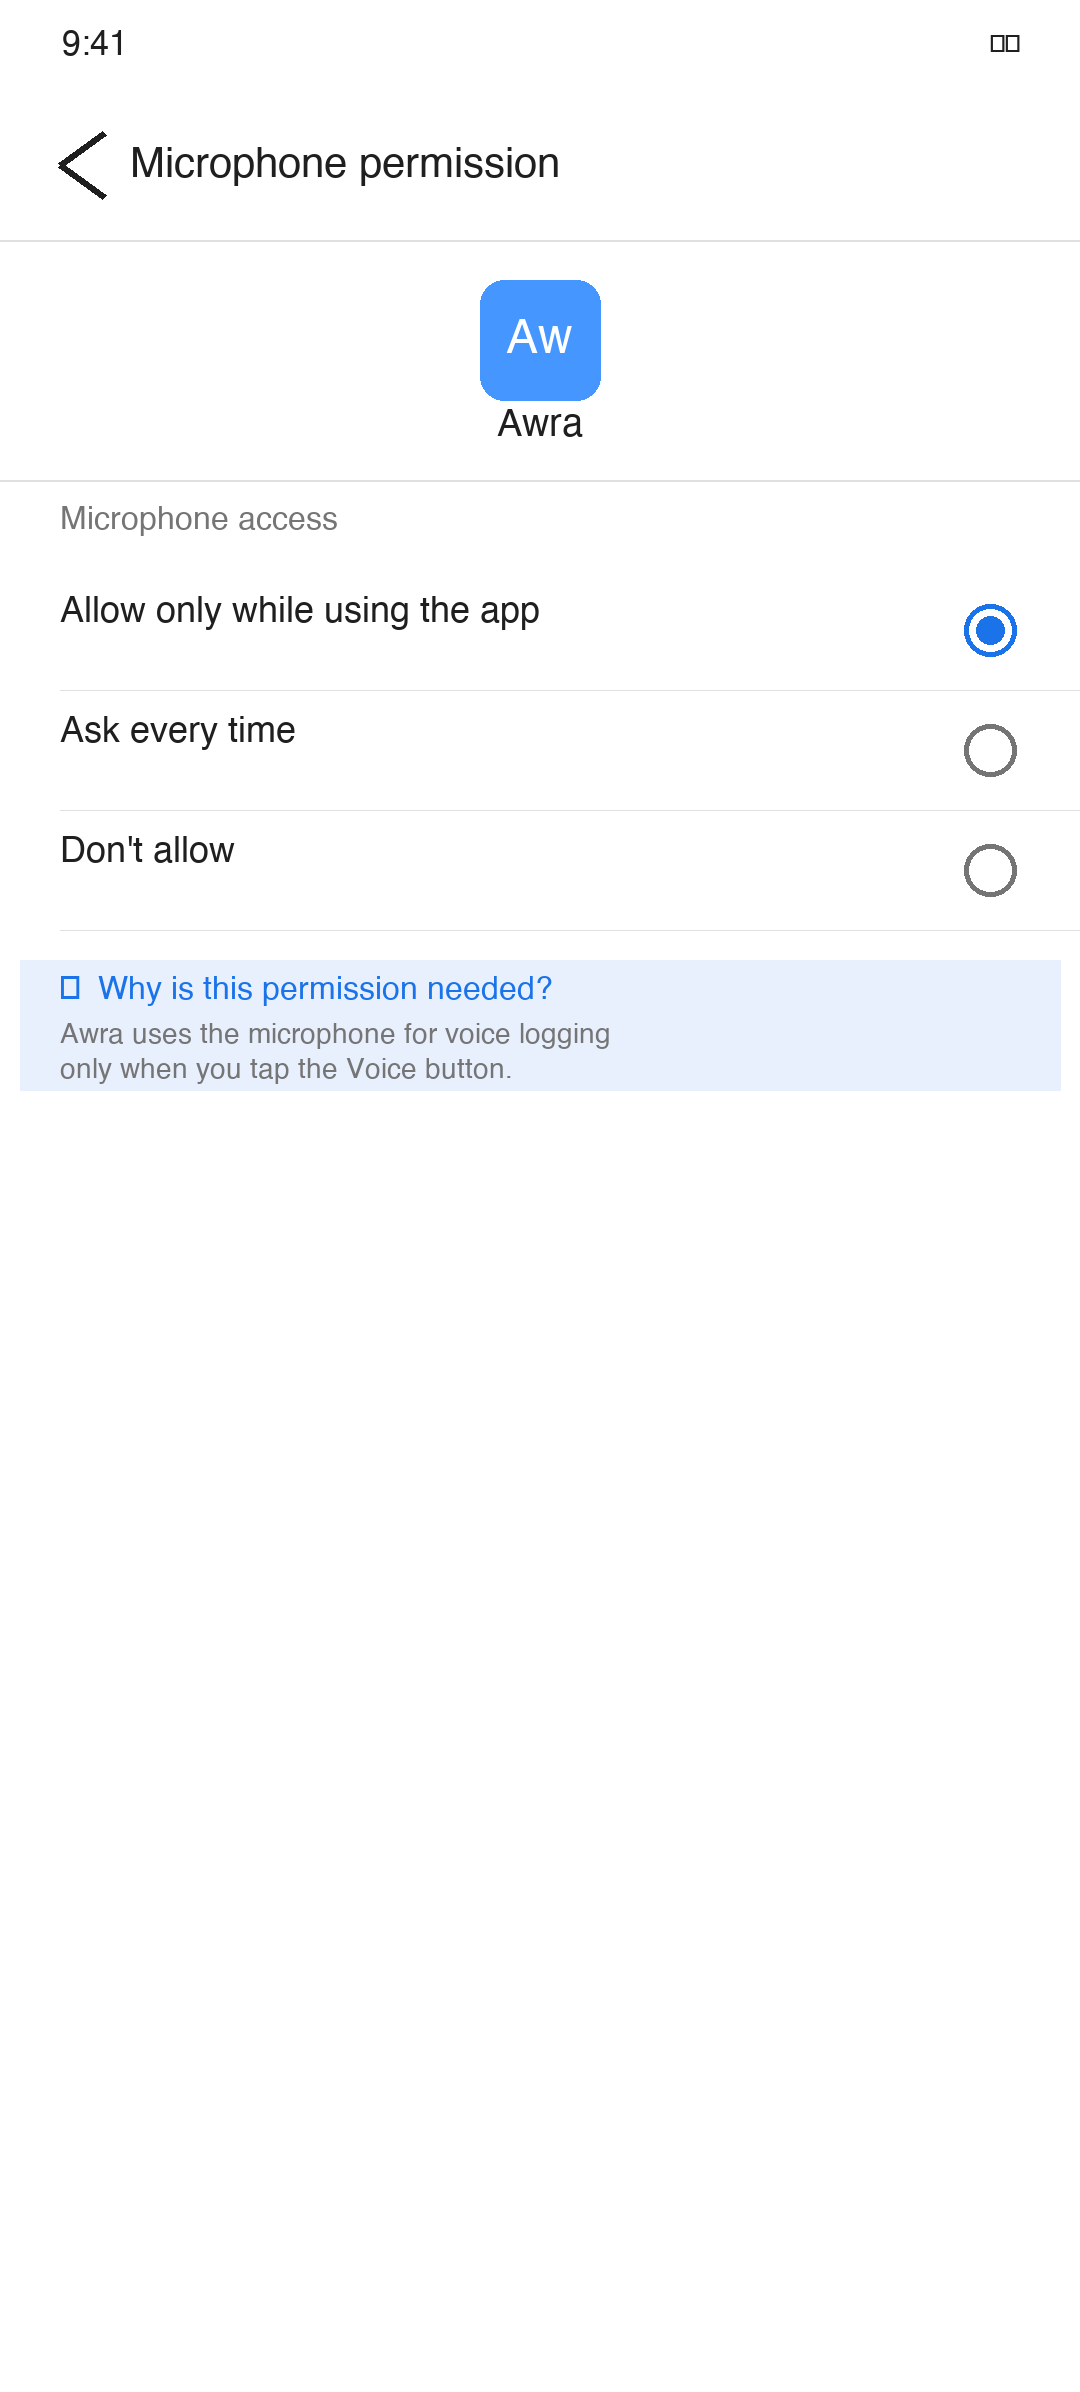
- 5 Tap Microphone.
- 6 Select Allow only while using the app (recommended) or Allow all the time.
- 7 Return to Awra. Voice recording is now active.
Samsung users
On Samsung Galaxy devices, go to Settings → Apps → Awra → Permissions → Microphone and select Allow only while using the app.
What happens next
Once microphone access is enabled, return to Awra and try voice logging again. Tap the + button, then select Voice to record a meal or activity by speaking naturally. Awra listens, processes what you said, and fills in the details automatically.
If you still see a permission error after following these steps, force-close Awra and reopen it.